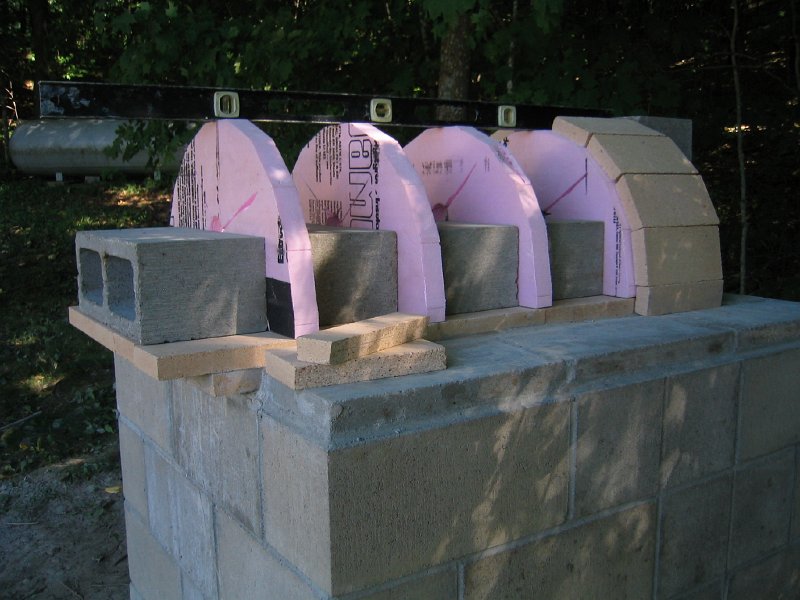
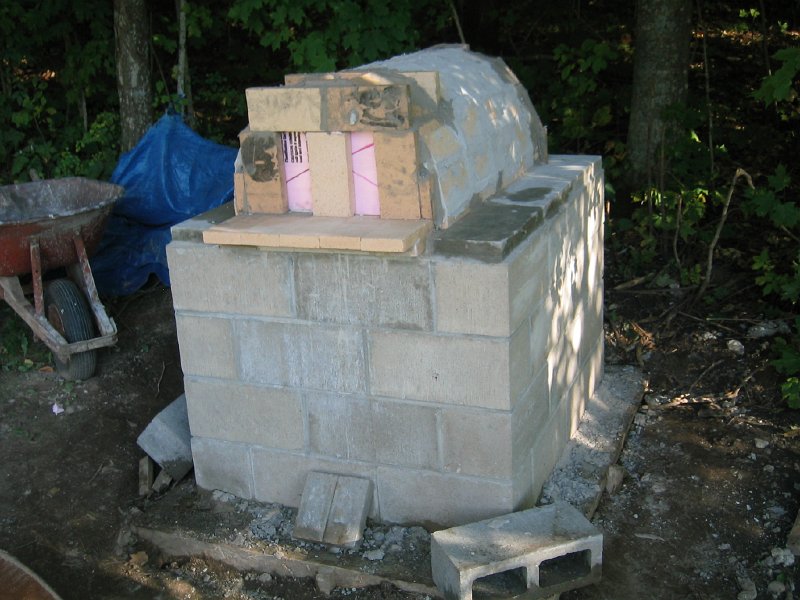
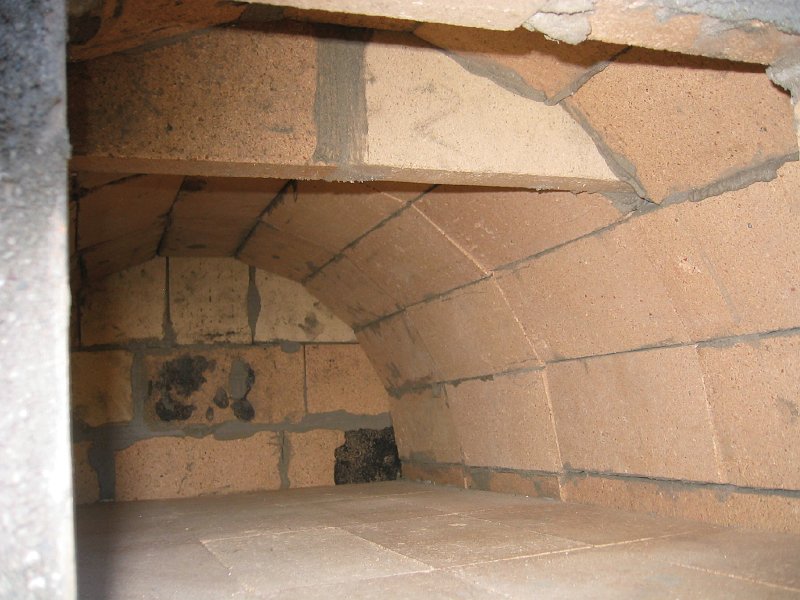
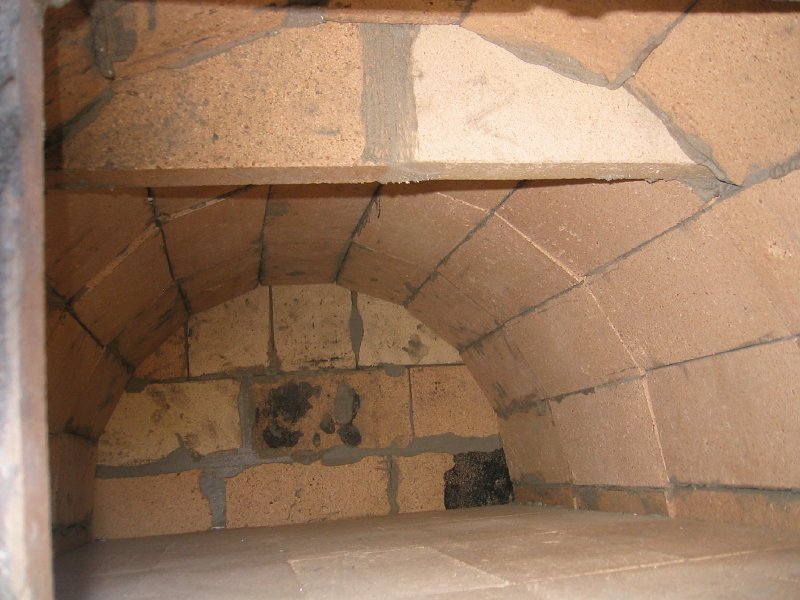
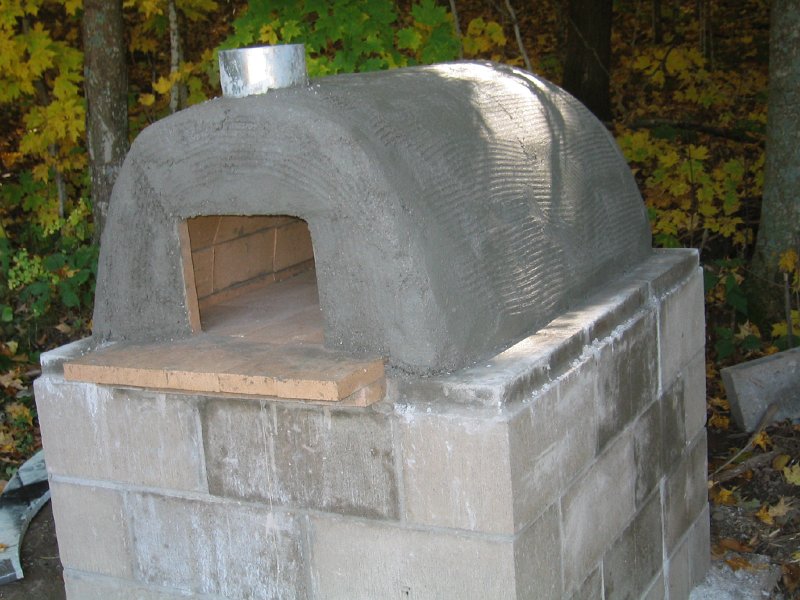
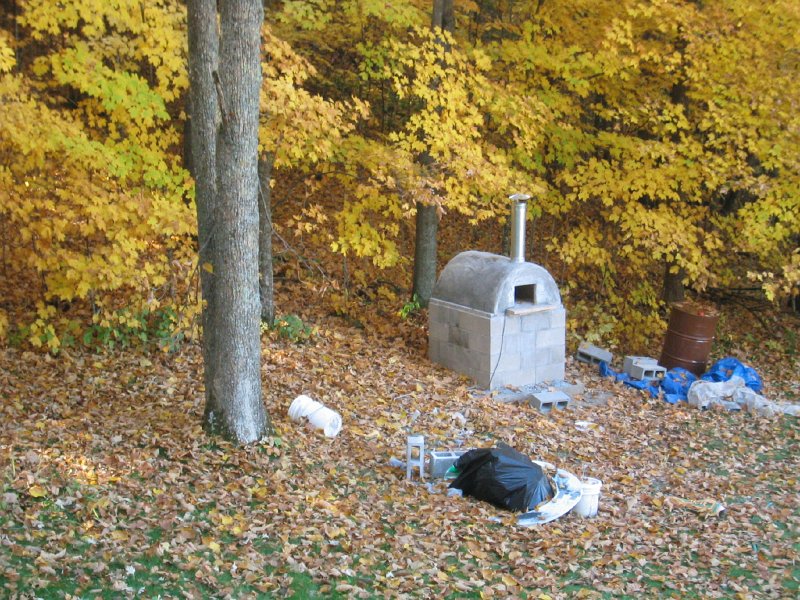
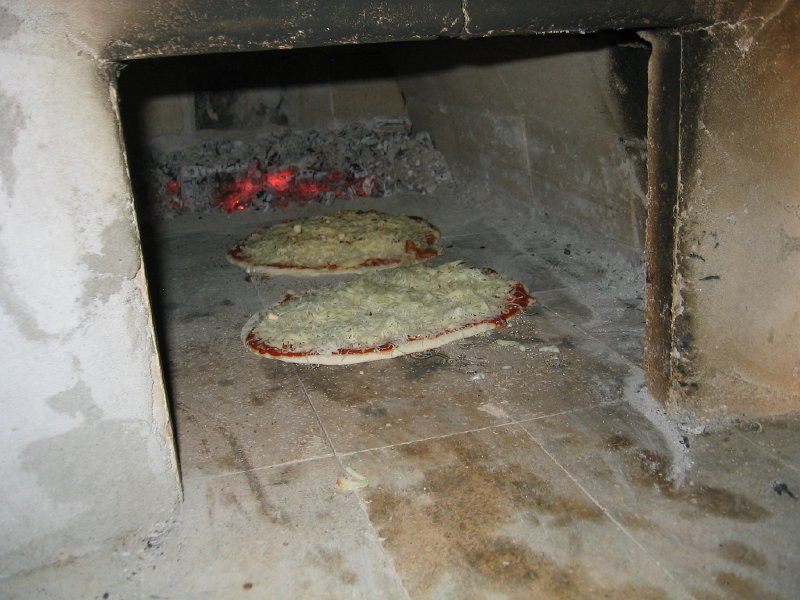
Brick oven

Making a brick oven
  • Retrieving an unused column footing from where it was dragged in 1988 when the house was being built. The thought was that this discarded block would be a good base for a brick oven.
  • An excavation for the old footing. The hole had to be enlarged several times before the thing would fit. It's funny how when digging a hole it is always too small for the thing you want to put in it.
  • After enlarging the pit still more for the oven footing it was leveled with packed sand. Note the Trillium, an early spring wild flower.
  • Construction begins with setting up the cement mixer and making the forms for pouring a 5" slab of concrete over the sand and the old footing.
  • Here the base has been constructed of 8" concrete block and filled with rock and a layer of concrete. A layer of heat-stop mortar has been leveled off and fire bricks for the oven floor are being laid down on the wet mortar.
  • 2" styrofoam forms are set up for laying the arched roof of the oven. 6" concrete blocks hold them vertically and securely in place. Holes and slots cut into the foam will aid in breaking them out when the roof is finished.
  • The level shows the careful craftsmanship.
  • The firebrick has been laid up with heat-stop mortar. The door opening "lintel" is temporarily supported by a centered firebrick.
  • The first of several layers of cladding has been applied with a reinforcing layer of poultry netting imbedded. The 6" masonry chimney thimble is cemented in place.  The door lintel and the baffle will be secured by the cladding that will cover the protrusions.
  • This is a view into the oven after the styrofoam forms and cement blocks have been removed. The heat baffle in the roof holds back heat but lets the smoke out of the chimney that is located between the baffle and the door opening.
  • Here is another view into the oven showing how the baffle is installed.
  • Here is the oven waiting for the finishing layers of cladding. The wall thickness is about 8" near the base and 6" at the top. A 4 foot section of stove pipe will be installed in the masonry thimble.
  • The brick oven has finally been finished except for the future trim and refinements. Note the fall colors that indicate the time span this project encompassed.
  • Here we have a view of a couple of fine pizzas baking in the oven. After a few very discouraging attempts we finally have a crust that can be manipulated without sticking to the peel or to the floor.
  • This is the plan for the brick oven. It was generated from ideas for several brick oven designs that I have found on the net. This is the end of the Brick Oven sllide show.  Click  here  to go back to the home page.